


Setting up a gas regulator is a crucial task for guaranteeing both the safety and efficiency of your gas cooktop. Whether you’re setting up a new built-in gas cooktop or replacing an existing unit, understanding the gas regulator installation process can help you avoid leaks, improve performance, and meet compliance requirements. This guide walks you through the tools you need, step-by-step instructions, and key considerations—perfect for both homeowners and professionals managing a custom kitchen installation.
Why You Need a Gas Regulator
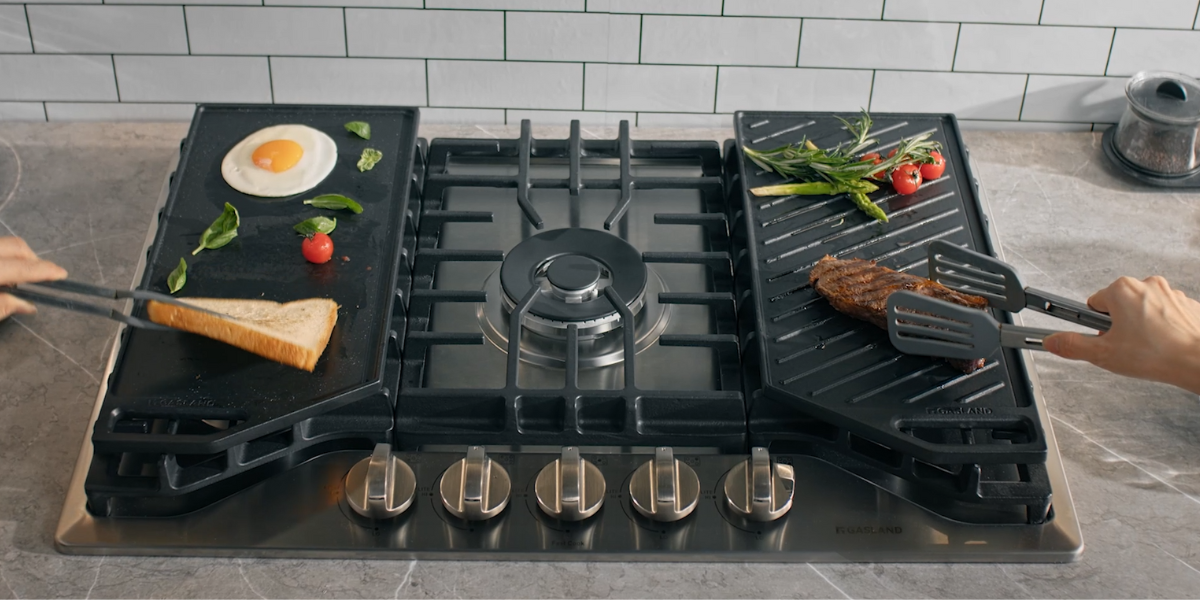
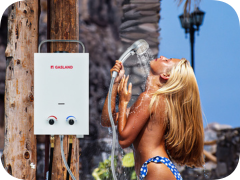
A gas regulator helps control the gas pressure flowing to your cooktop. Without it, excessive gas pressure can lead to flame irregularities or even safety hazards. Installing the right regulator—like the GASLAND NG Gas Pressure Regulator—ensures consistent burner performance and aligns with proper gas stove integration practices.

Tools and Materials You’ll Need
Before beginning the installation, gather the following:
-
Adjustable wrench
-
Pipe sealant tape or compound
-
Gas regulator (e.g., GASLAND NG Gas Pressure Regulator)
-
Flexible gas connector
-
Leak detection solution (soapy water or gas-safe detector)
Step-by-Step Installation Guide
1. Shut Off the Main Gas Supply
Before handling any components, shut off the main gas valve. If you’re unsure where this is, consult your utility provider or a licensed technician.
2. Locate the Cooktop Connection
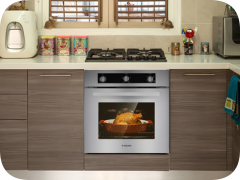
Whether you're working with a countertop cooktop or a modular cooktop, locate the gas inlet—typically at the rear or base of the appliance. This is where the regulator will be installed.
3. Attach the Regulator to the Gas Line
-
Wrap the threads of the male connector with pipe sealant tape.
-
Secure the gas regulator to the gas line using an adjustable wrench. Ensure the arrow on the regulator points in the direction of gas flow—toward the cooktop.

4. Connect to the Cooktop
Attach the flexible gas connector from the regulator to the cooktop's gas inlet. Again, ensure the fittings are sealed and tightened properly.
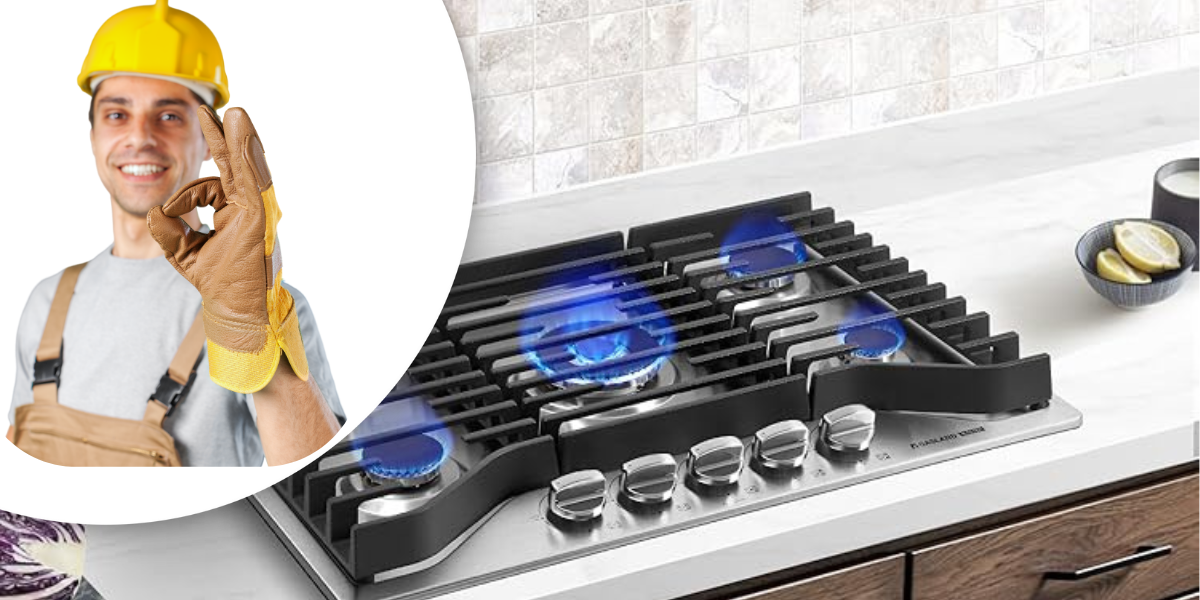
5. Check for Leaks
Turn the gas supply back on and spray all connections with leak detection solution. Look for bubbles as an indicator of gas leakage. Tighten connections as needed or reapply sealant.
6. Test the Cooktop
Once confirmed leak-free, ignite the burners and observe flame behavior. A properly regulated system will yield steady, blue flames across all burners, ensuring optimal performance in any kitchen design with gas cooktops.
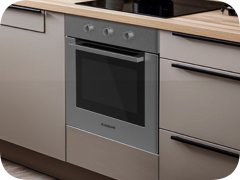
Built-In Cooktop Installation Tips
If your cooktop is part of a flush-mount appliance setup or seamless cooktop design, make sure there is enough space for both the regulator and flexible hose beneath the counter. For more guidance on this type of setup, check out our Built-In vs. Free Stand Gas Cooktops: Which Is Right for Your Layout?.
Final Thoughts on Gas Regulator Installation
Installing a gas regulator is a straightforward yet critical part of choosing a built-in cooktop or upgrading your current appliance layout. It’s not only about compliance—it’s also about safety, efficiency, and aesthetics. Whether you're aiming for a sleek kitchen design or a minimalistic kitchen look, getting the gas cooktop installation right will contribute to a better cooking experience.